Story Mapping
Story mapping is a tehchnique used for both scoping and release planning of new projects and enhancements to existing products. It is very much inspired by the work of Jeff Patton made popular through his 2008 blog post “The new backlog is a map”, but in an adjusted form and combined with journey mapping practices and techniques.
Story mapping is performed as part of product/project planning or as part of continuous release planning. The end-result is a map of user needs prioritized in each customer journey touch point, a clear set of priorities for the critical scope for the next release and rough plans for the following releases.

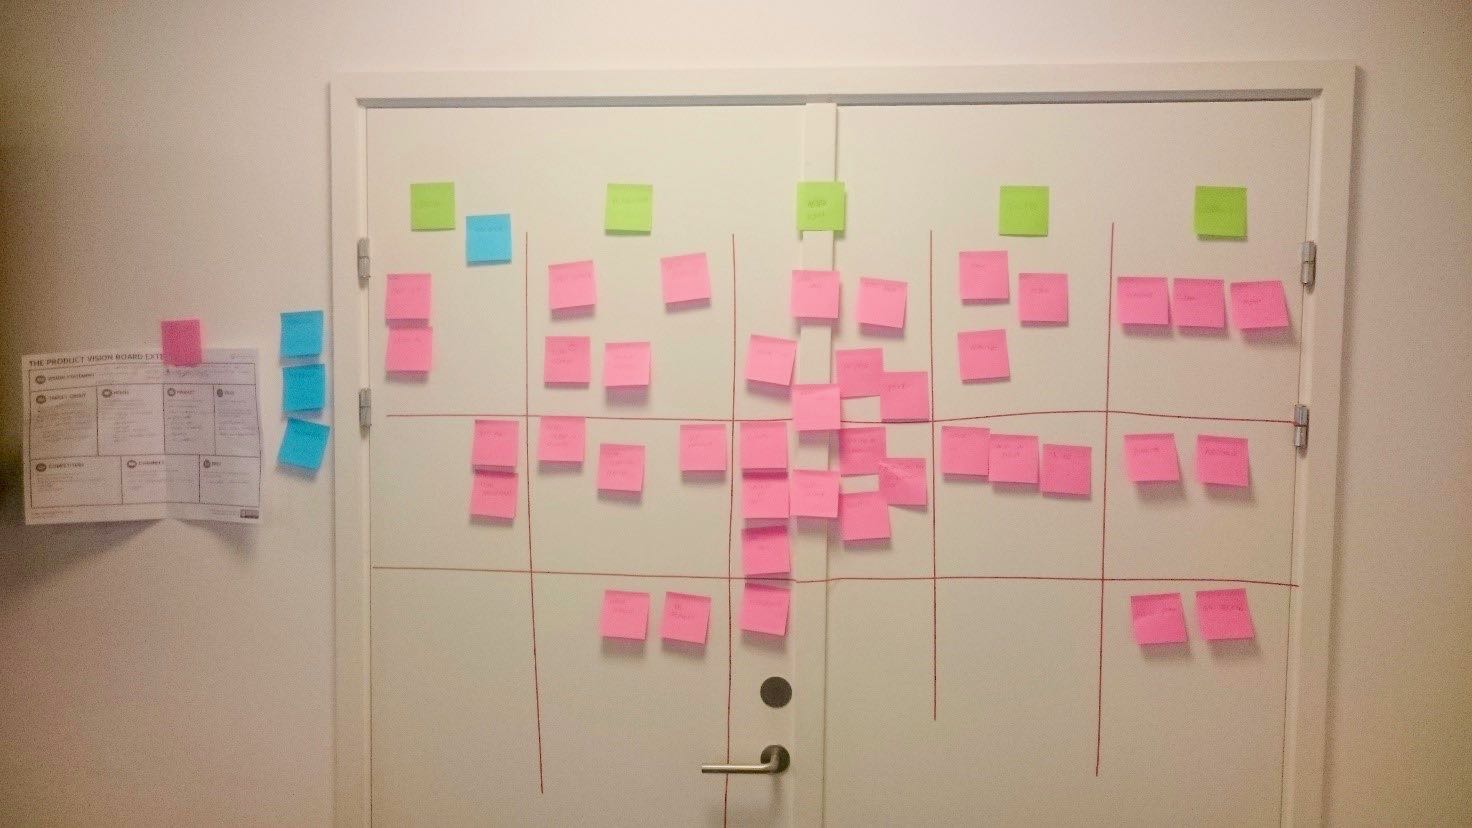
Example from a story map workshop session (training/workshop setting - so not all stakeholders were involved and limited preparation)
What to expect
Done right, the story map should provide you with:
- An effective and just in time (JIT) way of turning a vision and existing knowledge about the market and end-users into a release backlog optimized for short time-to-market and a iterative implementation approach.
- A better and more outside in oriented prioritization of business/user needs
- A way to align multiple stakeholder towards the same goals and priorities
- An overview of a complex envisioned product that you cannot get from a one-dimensional backlog
Preparation
For a story mapping workshop to be executed effectively you need to be well prepared. Think of this preparation as a super-optimized analysis phase where you get just enough knowledge in place to setting a direction and start learning. That includes:
- Having a vision in place. Preferably captured on a 1 page vision canvas or similar (see section on vision statements)
- Being able to get all your stakeholders in the same room for the duration of the workshop. Typically 1⁄2 - 1 day for a new project/product and 1.5-3 hours for planning the next releases on an existing one. Typically 4-9 people is a good number of attendees. Who to invite is very context specific but you should consider:
- Representatives from the delivery team Project sponsor
- Domain expert
- End user(s)
- Scrum Master
- more…
- You have identified the main touch points in the customer journey for the project/product and listed them in roughly chronological order (will serve as the backbone/columns in our story map). Between 5 and 12 touch points is a good rule of thumb.
- Captured the most important knowledge of your to-be (or already existing) users and market in a couple of slides, which can be presented to the workshop group in under 30 min. When used planning releases to existing products documented user behavior should be part of it.
- Identified the main personas/target group and a suggested priority (usually you cannot put everybody first)
- One index card per already identified user need (one line description) and the persona/user group it most closely relates to At least 30 empty index cards
- One column per touch point on a large white board or wall (remember to bring tape)
Agenda
The story map workshop is typically facilitated by the product owner or an experienced story map facilitator. The agenda looks like this:
Agenda and introduction (often most people do not know each other)
- Presentation of the Vision Presentation of relevant background material: interviews, market research, analytics data, personas, technical constraints, ect. (Remember - max 30 min.)
- Suggested prioritization of personas/user groups is presented (might change in the workshop as a result of input from the attendees)
- Story mapping (the main event)
- All participants are asked to gather in-front of the whiteboard or wall where each touch point is represented by one column.
- Everybody is asked to pick up an index card from the pile of already identified user needs and place it in the most suitable touch point (everybody is doing this at the same time). This continuous until nothing is left in the pile
- Picking the most important persona we “walk the map” by going through each touch point with that persona/user. Together we tell the stories about what the user does in that touch point - what are they doing and why? Soon it becomes evident that not all needs are covered and the new ones are written down on the cards from the pile of empty index cards.
- Once done with the persona. We critically (as a group) evaluate if it makes sense to continue or enough is covered. Typically we go through at least the top 2-3 personas.
- Some touch points might be overloaded with index cards now and need to be split-up. Some might be empty and can be removed – that is totally fine.
- Refreshing the vision and most important persona everybody is asked to prioritize each index card. The higher up on the story map the more important and the more likely something that should be part of the first version. Everybody does this simultaneously. The point is not to get it exactly right at this stage but to get a rough picture. Some people will naturally disagree on the priority of specific index card and we ask them to mark those with a small cross in the upper corner (whether they end up high or low right now is not important).
- A horizontal line is drawn across the board leaving roughly 1⁄3 of the room above the line. Participants are told that everything above this line will be part of the critical scope for the next version.
- As a group we now walk each touch point again discussing what is in and out - remembering to pay special attention to those marked with the cross in the corner. People are continuously reminded that for each ticket above the line time-to-market will be increased and risk will increase in terms of complexity, time and budget.
- Having gone through each touch point an overview should start to form. What is the goal of the next release? What business objective is met? As we start to formulate the release goal, the KPIs and how we will measure success some items will be removed and others added.
- Not everybody will agree and if consensus cannot be reached it is important to know who gets to make the final call. The goal is to leave with everybody being aligned (not necessarily in agreement) in terms of priorities and therefore we do not want any unclear issues left on the table.
- After aligning the first release the same thing is done for the second one. Things will naturally change before we get that far but the communicative and political value should not be underestimated. It is a lot easier for people to accept something not being priority 1 if it looks like an immediate number 2 and communicating release 1 to the rest of the organization is also much easier if it includes the scope of release 2.
- Index cards below the second line is communicated as an inspiration catalogue and should be cleaned up by the PO afterwards. Most things should simply be removed.
- Final point is to wrap up the results and identify any immediate activities that need to be carried through.
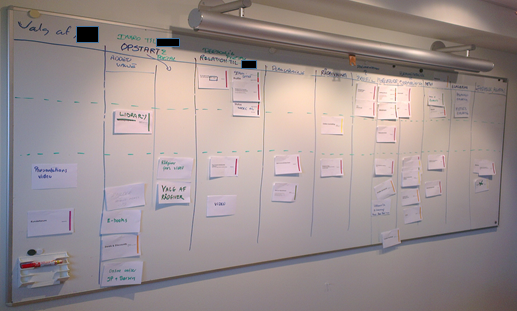
The final story map could look like this:
 The resulting story map does not have to look fanzy - it has to illustrate a clear prioritization of possible features mapped to a user experience so that the product development team can understand the aim of the MVP.
After the Story mapping workshop the result is used to form the basis of a backlog. After a grooming session each item is formulated as a high-level user story, given a T-shirt estimate and prioritized individually considering value, cost and risk (technical, business and social). To the backlog is added necessary “startup/sprint 0” tasks like:
- Getting environments ready
- Setting up basic deployment procedures Setting up continuous integration
- Creating a concept design
- Doing architecture spikes
These can be thought of as “enabler stories”. Do not underestimate the complexity of some of these and make sure to be very concious of which ones you really, really need. Especially if you are building a product from scratch, you should try to identify simple, often temporary, solutions in order to enable the first MVP versions of your product. Setting that enterprise BPM engine up as a high availablity cluster solution may proove to take much more time out of your “proof of concept” than you can possibly imagine.
Taking it from here
When “working agile” the team must allow learning to occur in at least three dimensions going forward from here:
- New and even more essential options might occur so we reserve a buffer for these up front (min. 20 percent extra)
- Existing needs might be reprioritized or left out altogether - understand that they story map plan is subject to change.
- Since we defer details on the individual level of the identified user story/user need the “HOW to implement” it is decided Just in Time (JIT) taking the latest feedback into consideration and is not specified in one “batch” up front.
That is it. The story mapping format is an excellent tool for an iterative and agile approach to scoping and planning. Be aware, that it only makes sense if the project / product team actually has the mandate to set and change the scope. If they don’t, we are not really working “agile” anyway, but at best incrementally.
